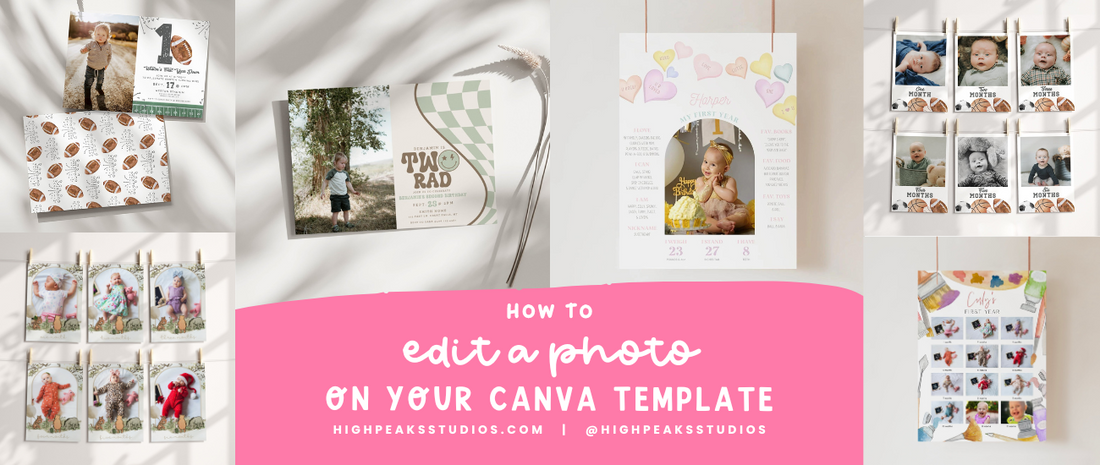
How To Edit a Photo On Your Canva Template
If you've downloaded any of our editable Canva templates with an image option, you'll want to insert your own image before printing or sharing your file! If you're wondering how to do that, luckily with a free account to Canva, this is super easy and only takes a minute or two.
How to edit your photo on your canva template from a computer:
-
Open the PDF File with the Template:
- Access the PDF file containing the template you want to edit.
-
Create or Log In to Your Canva Account:
- If you don't already have a Canva account, you'll need to create a free one. If you have an account, log in with your user name and password.
-
Use Template:
- Click "Use Template" on the template you want to edit. This action opens the template in the Canva editor.
-
Upload Your Image:
- In the Canva editor, go to the "Uploads" section. You can access this by clicking "Upload Files." This is where you can upload your own image.
-
Replace the Image in the Template:
- After uploading your image to the "Uploads" folder, click and hold the image, and then drag it into the image frame within the template. This will replace the existing image with the one you uploaded.
-
Resize the Image:
- To resize the image, double-click on the image within the template. You will see four white dots in the corners of the image. You can click and drag these dots to make the image larger or smaller.
-
Position the Image:
- While editing the image, you can click and drag to move the image around within the frame, ensuring it's properly positioned in the template.
-
Exit Editing Mode:
- To exit the image editing mode and save your changes, simply click outside of the image. Your edited template is now ready for use.
-
Download or Export the Final Design:
- When your edited template is ready, you can download it in the desired format (e.g., JPEG, PDF).
How to Edit from a phone:
-
Open the PDF File:
- This is the file you have downloaded from your order. This file contains your access links to the template you purchased.
-
Create or Log In to Your Canva Account:
- If you don't have a Canva account, you'll need to create one. If you already have an account, log in. Please remember this is a free service.
-
Use Template:
- Once you're logged into Canva, click on the template you want to edit. This will open the template in the Canva editor.
-
Tap the Photo You Want to Replace:
- In the Canva editor, locate the photo you want to replace and tap it. This will select the photo.
-
Replace the Photo:
- After selecting the photo, you should see options or tools at the bottom of the screen. Look for the "Replace" option and click it.
-
Select the New Photo:
- Canva will prompt you to choose a new photo to insert into the slot where the previous one was. Click on the option to upload a new photo.
-
Upload and Insert the New Photo:
- Select the new photo you want to use from your device and click this will upload the photo to your template.
-
Adjust and Resize:
- After inserting the new photo, you may need to adjust its size and position to fit the template properly. Canva allows you to drag and resize elements in your design. Use the grey dots in the corners of the image to do this.
-
Download or Export the Final Design:
- When your edited template is ready, you can download it in the desired format (e.g., JPEG, PDF).
If you're more of a visual learner, check out this quick 4-minute how to video we made showing you exactly how to do this!
Thank you for choosing High Peaks Studios for your party printable needs! We hope you found this how to video helpful. Please shoot us an email to highpeaksprintables@gmail.com if you have any questions on how to do anything else regarding our products, we're here to help however we can!


